
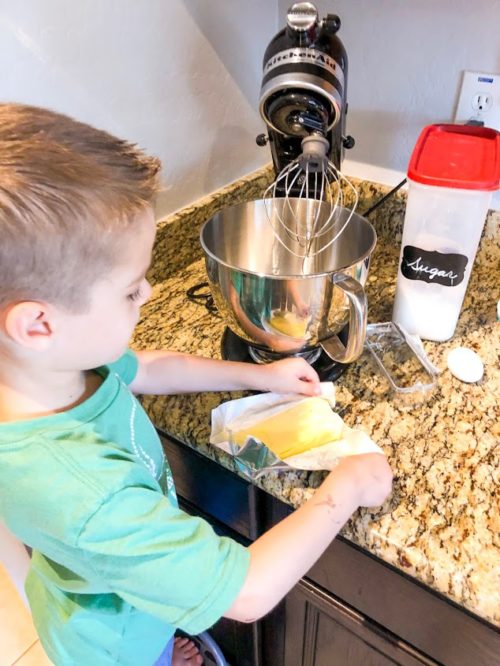
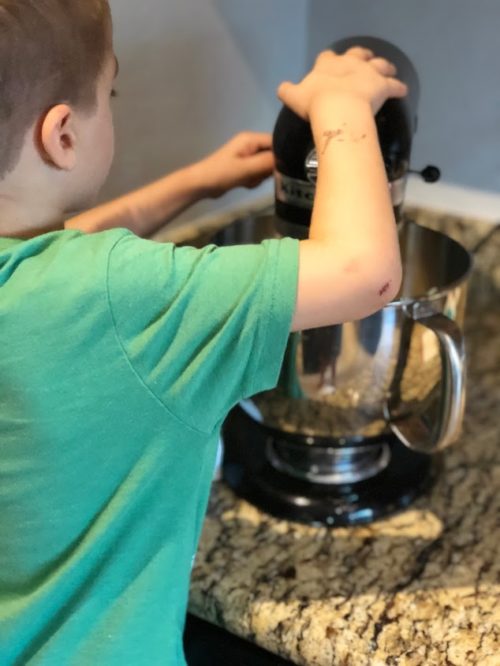
My oldest son, Liam, loves to cook and bake. We try and make something new every week so he can practice his skills. Our love for everything Mickey is tremendous. When I looked up ideas for fun Mickey cookies, there weren’t that many and what was there was too hard for such a young chef. I immediately went through my recipe box, yes I’m old school and still keep a box of all my recipes, to find a good recipe I could work with.
I remembered I had a few different mickey cookie cutters and started digging through them to see what I could work with. It’s tough finding the perfect cookie cutter for the recipe because you don’t want one that’s too big, shaped weird, or too small. I ended up using the red Mickey in this set. We tried the other one but it didn’t come out to our liking and was hard to work with when adding the preserves. You could also use the smaller three in this set.
Make sure when you are baking your cookies you line your pan with parchment paper or a nonstick mat. Do not use cooking spray or rely on a nonstick pan.

For our preserve choices we made half with strawberry and half with mixed berry. It was a hard choice since I tend to love raspberry thumbprints but in the end I’m glad I went with the mixed berry. My husband and kids preferred that one over the strawberry ones.
We loved the outcome of our cookies! The kids thought they were so fun and even mentioned it was like getting a cookie from Disneyland. I wish it was the same thing but it definitely was an honor to hear that from them.
Have fun and bring some magic to your house, party, and friends with these easy, yummy cookies.

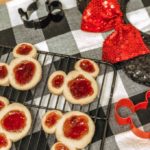
Delicious, easy, and magical thumbprint cookies anyone would be thrilled to indulge in. It may be hard to only eat one.
- 1 cup softened butter, but not melted
- 1/2 cup powdered sugar
- 2 tsp vanilla extract pure
- 1/8 tsp salt add extra pinch if using unsalted butter
- 2 cups all purpose flour 1/2 cup extra for rolling out dough
- 1 cup fruit preserves strawberry, raspberry, blackberry, apricot, berry mix
-
Preheat oven to 325. Line cookie sheet with parchment paper or nonstick liner.
-
Whip butter and sugar together for a few minutes until thoroughly mixed. You may need to stop and scrape sides of bowl halfway through.
-
Mix in vanilla and salt. On low mix in flour a little bit at a time.
-
Dough will come out sticky, roll into a ball and wrap in plastic wrap thoroughly. Put in the fridge to chill for 30-60 minutes. If you leave it in longer you will need to let it sit out room temperature for 10-15 minutes before you can work with it.
-
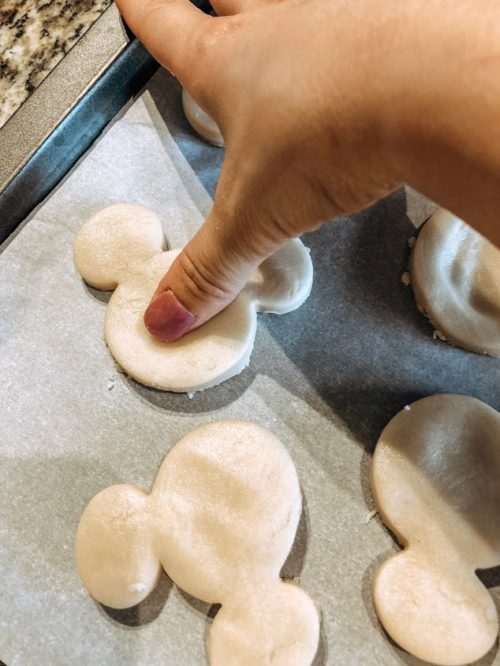
Flour the counter liberally to prevent the dough from sticking. Roll out the dough using a floured rolling pin. Once thickness is about 3/4 inch start cutting out your mouse shapes.
-
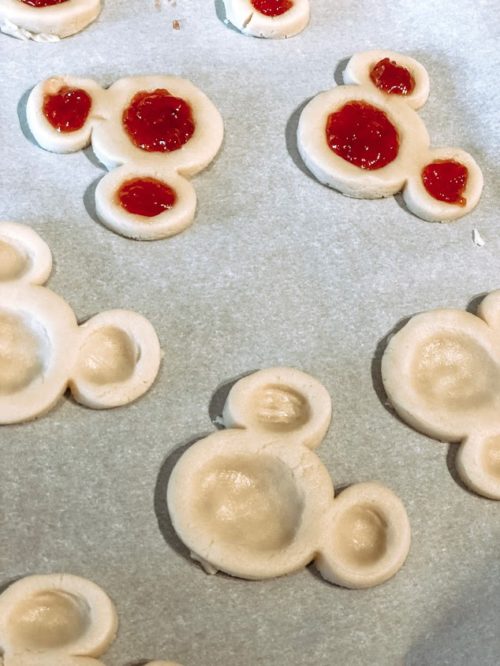
Using a spatula carefully pick up each cookie and gently press your thumb into the head and ears areas. once it is deep enough without piercing through the bottom of the dough add the preserves of your choice into all three areas.
-
Bake 18-25 minutes until slightly golden brown around the edges. Time will depend on thickness of cookies.
-
Let cool for 5 minutes then transfer to a baking rack. Let cool an additional 10 minutes before serving.
